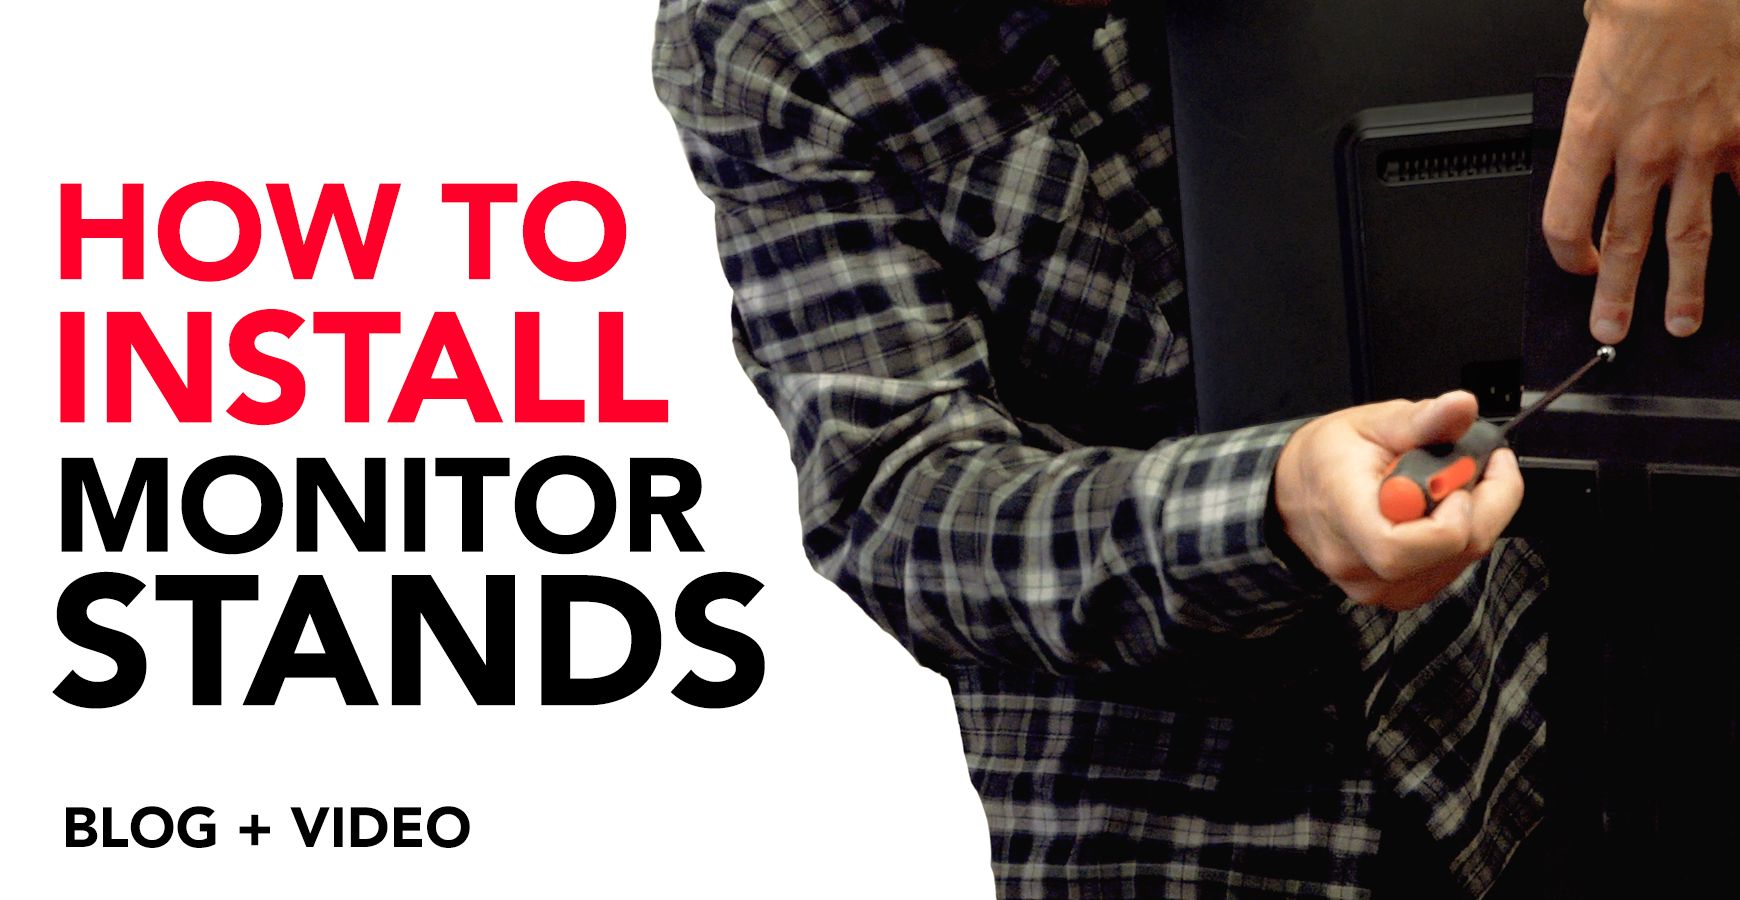
Intstalling Monitor Stands
Are you ready to de-clutter your desk and reduce neck, back, and eye discomfort at the same time? These three new monitor stands from OEVEO are simple to install and are sure to level up your workspace.
Whether you’re looking for a simple American-made single monitor stand, desire a back mount for a mini PC, or even want to be able to rotate your monitor, we have a monitor stand for you. For easy installation of all three of our monitor stands, read on.
Installing the Single Monitor Stand
This go-to stand is perfect for elevating your monitor off your desk. Meanwhile, its sturdy base reduces the risk of your monitor tipping over. Plus, installation is a breeze with this simple guide and accompanying video.
Materials
To install the single monitor stand, you will need:
Step One: Alignment
Align the back of your monitor to the monitor stand arm. Then select whether the 75mm or 100mm VESA hole pattern matches. The VESA hole pattern is standard on the back of the monitors and appears as four holes in a square.
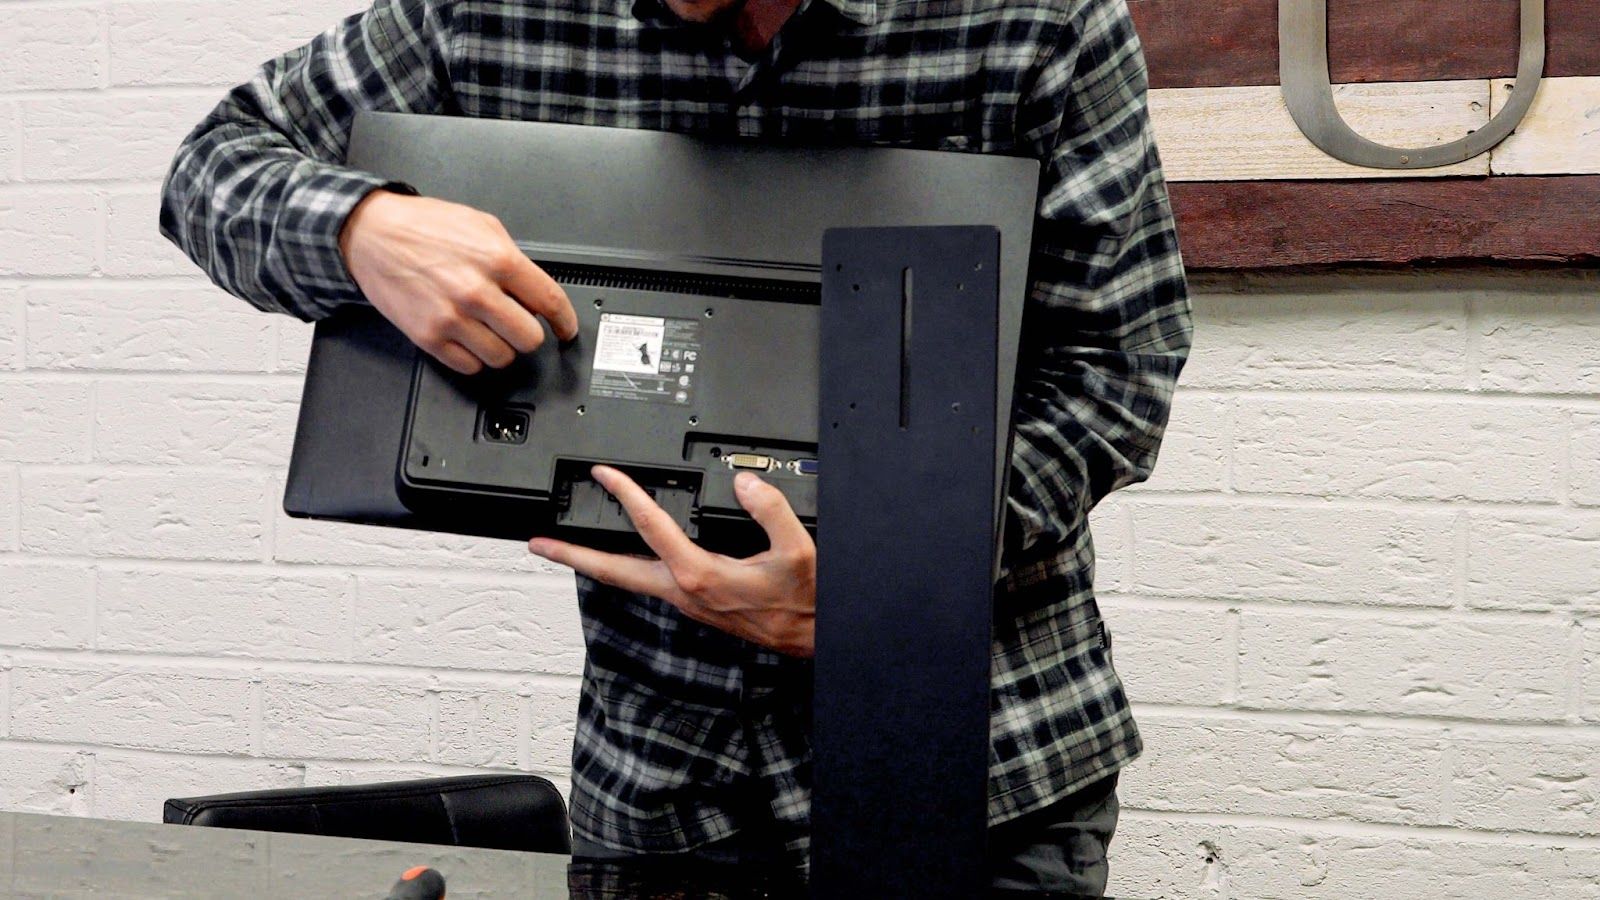
Step Two: Attaching the Monitor
Place the stand against the back of your monitor and attach using the four screws provided. You may also choose to use the screws that came with the purchase of your monitor.
It’s as simple as that!
Installing the Single Monitor Stand with Mount
The single monitor stand with mount is very similar to the previous stand. However, it comes with a bracket that is perfect for mounting a small form factor PC to the back of your monitor.
Materials
To install the single monitor stand, you will need:
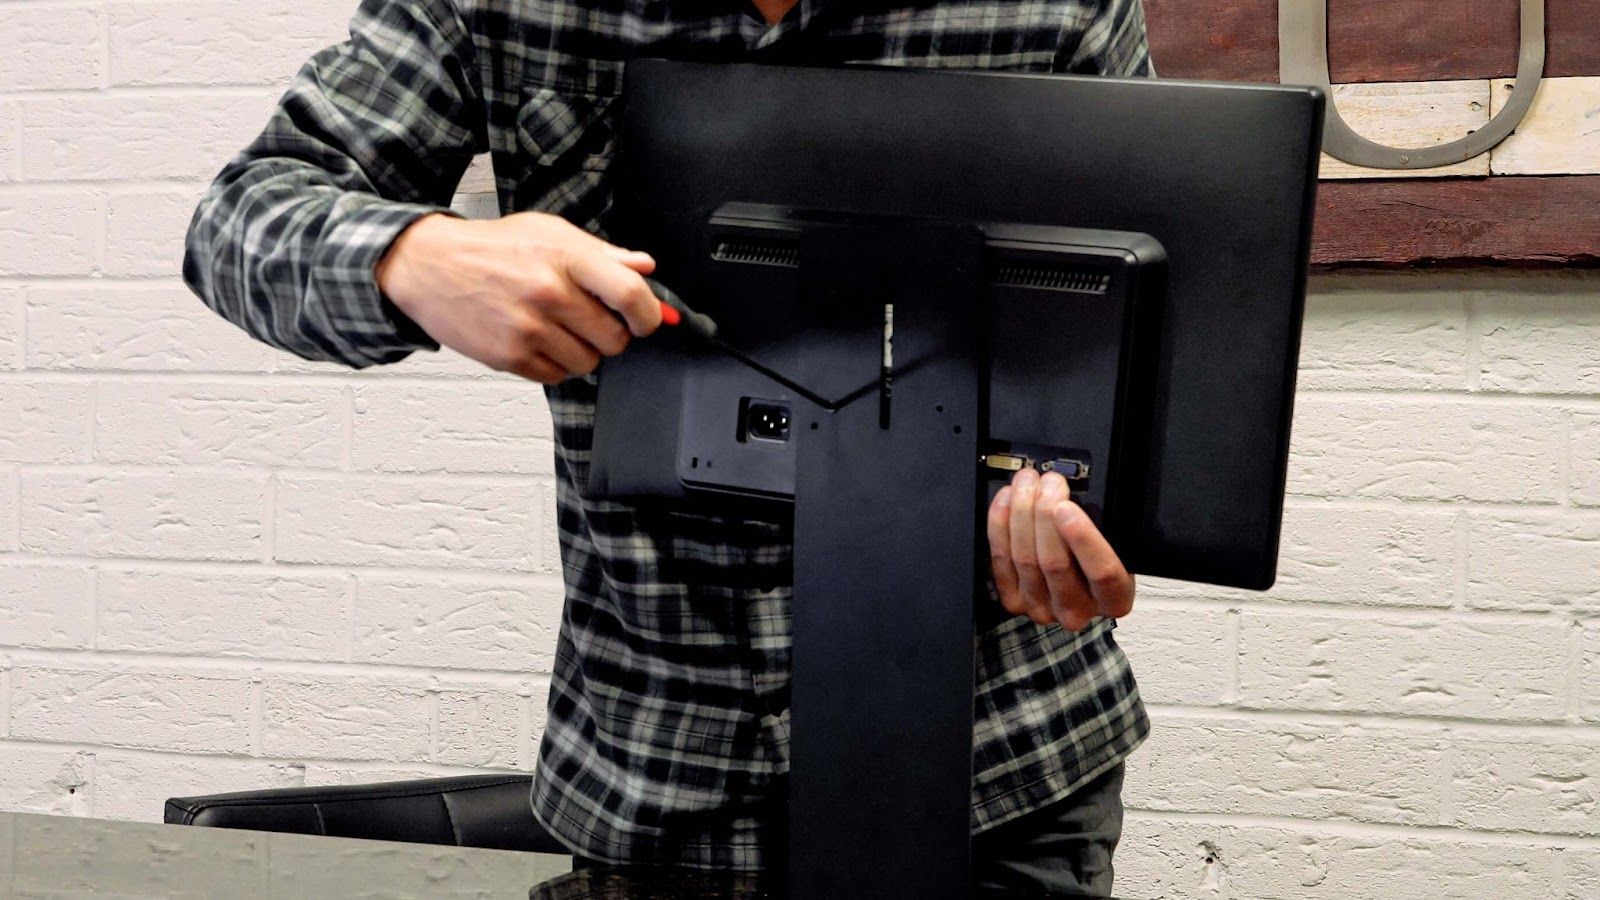
Step One: Alignment
Just like in the previous installation, you want to align the back of your monitor to the monitor stand arm. Then select whether the 75mm or 100mm VESA hole pattern matches for connecting your monitor and PC mount.
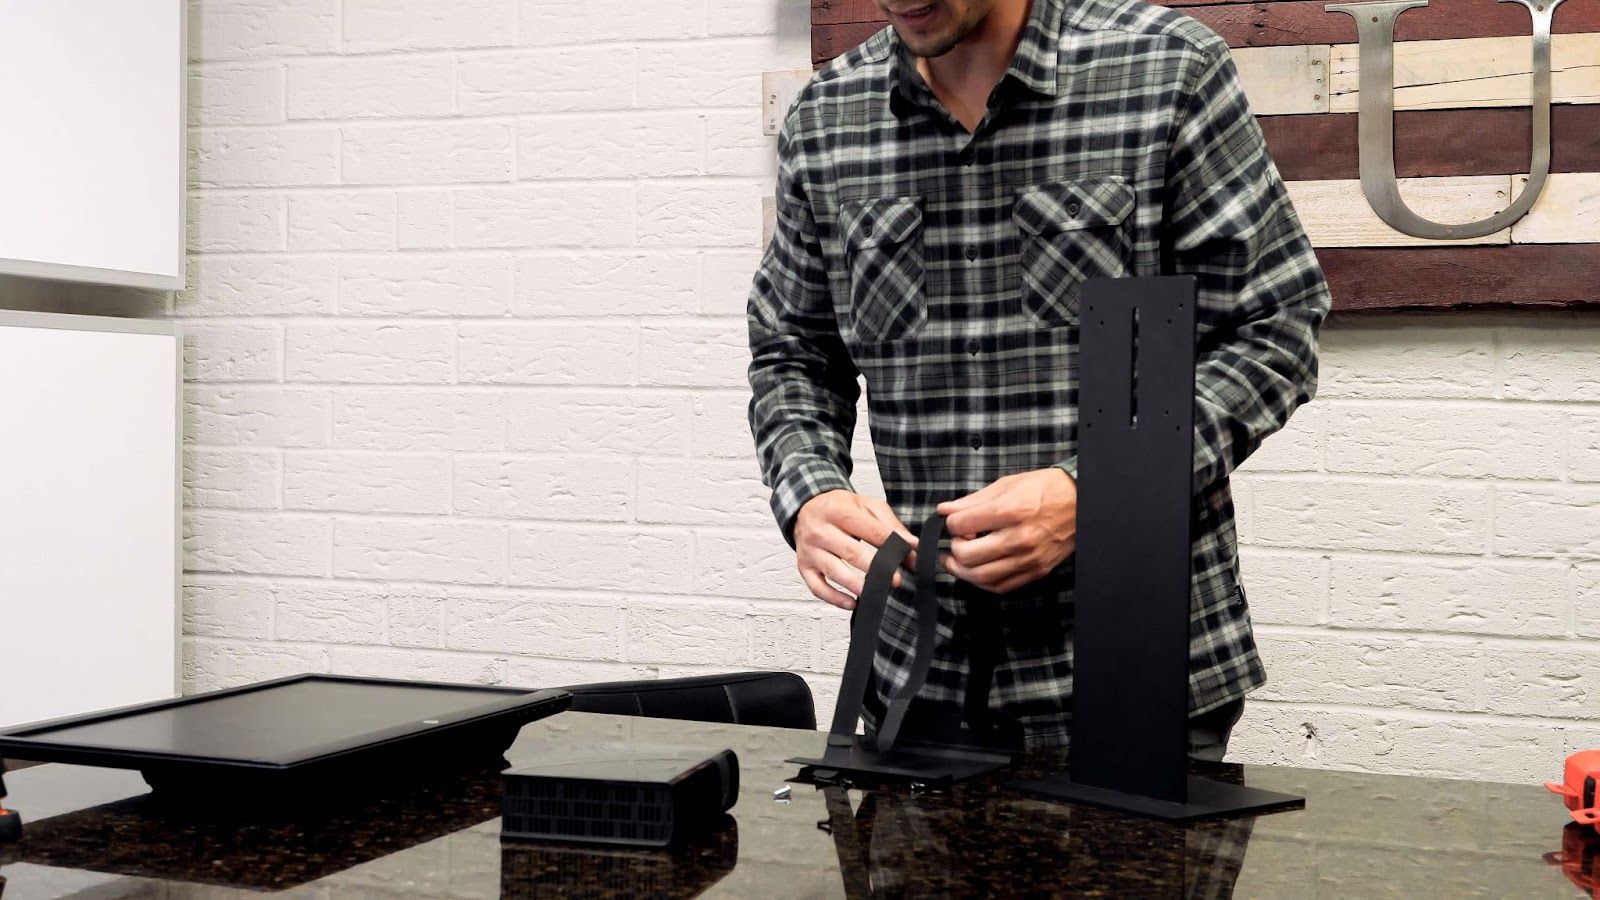
Step Two: Preparing to Install
Ready the straps by pulling them out so you can access the holes in the back of the PC mount. Now you will prepare to install the PC mount and monitor to the stand simultaneously by placing the monitor stand between the two. Again, be sure to align the VESA hole patterns. You may want to enlist a second set of hands for this.
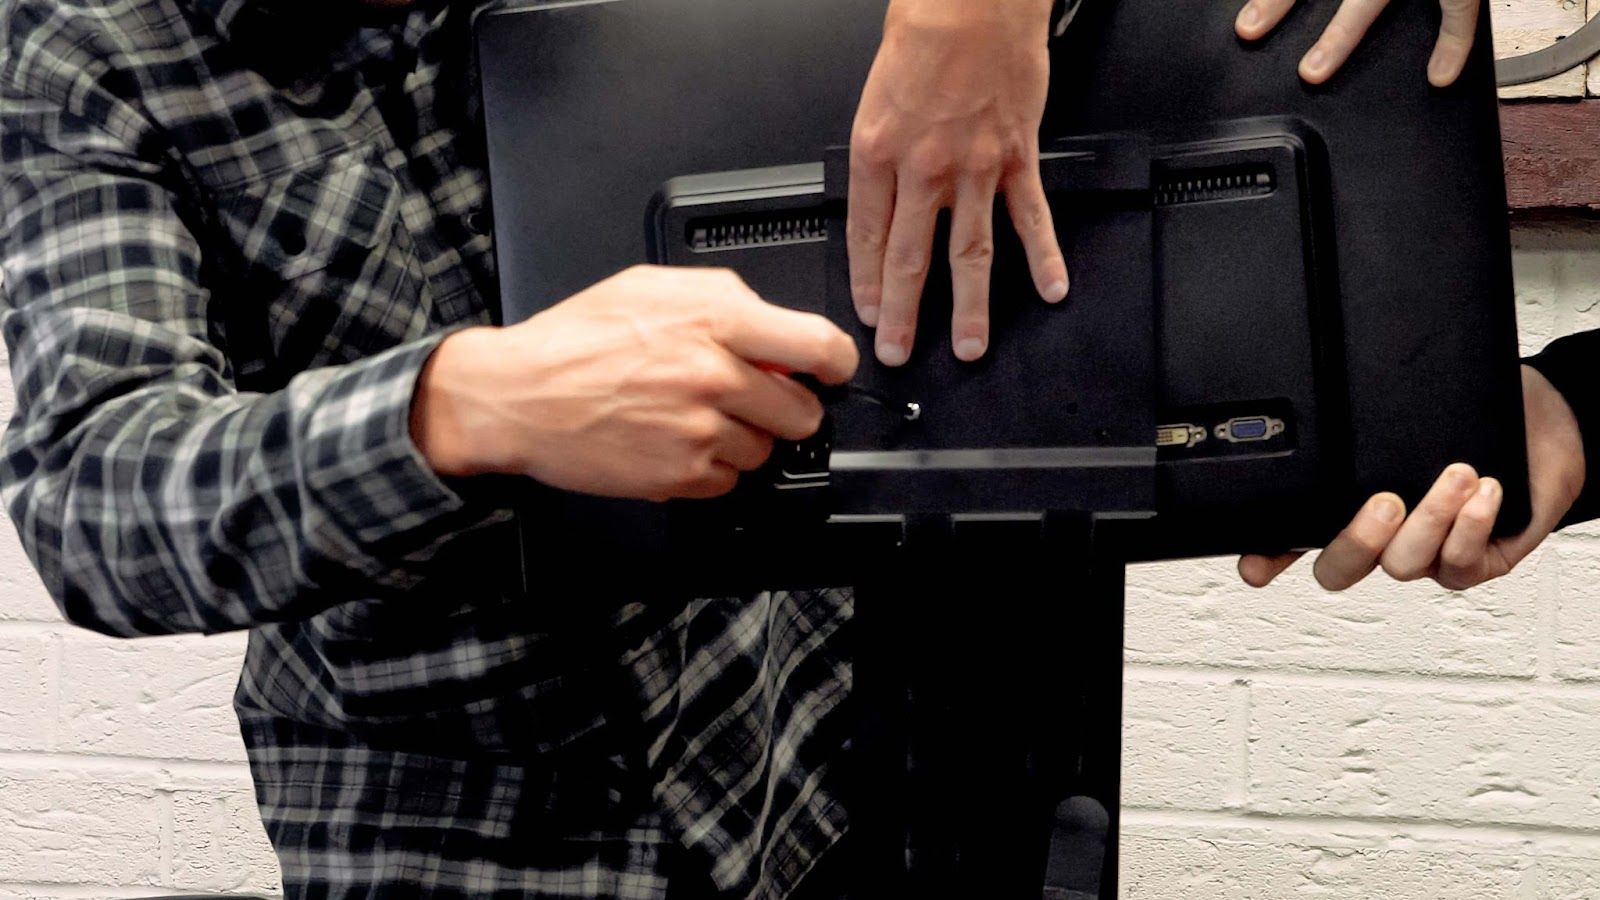
Step Three: Attaching the Monitor and Mount
With your monitor on one side of the stand arm and the PC mount on the other, fasten the first included screw through all three. Then, for ease and stability, screw into the hole diagonal next. Repeat until all four screws are attached.
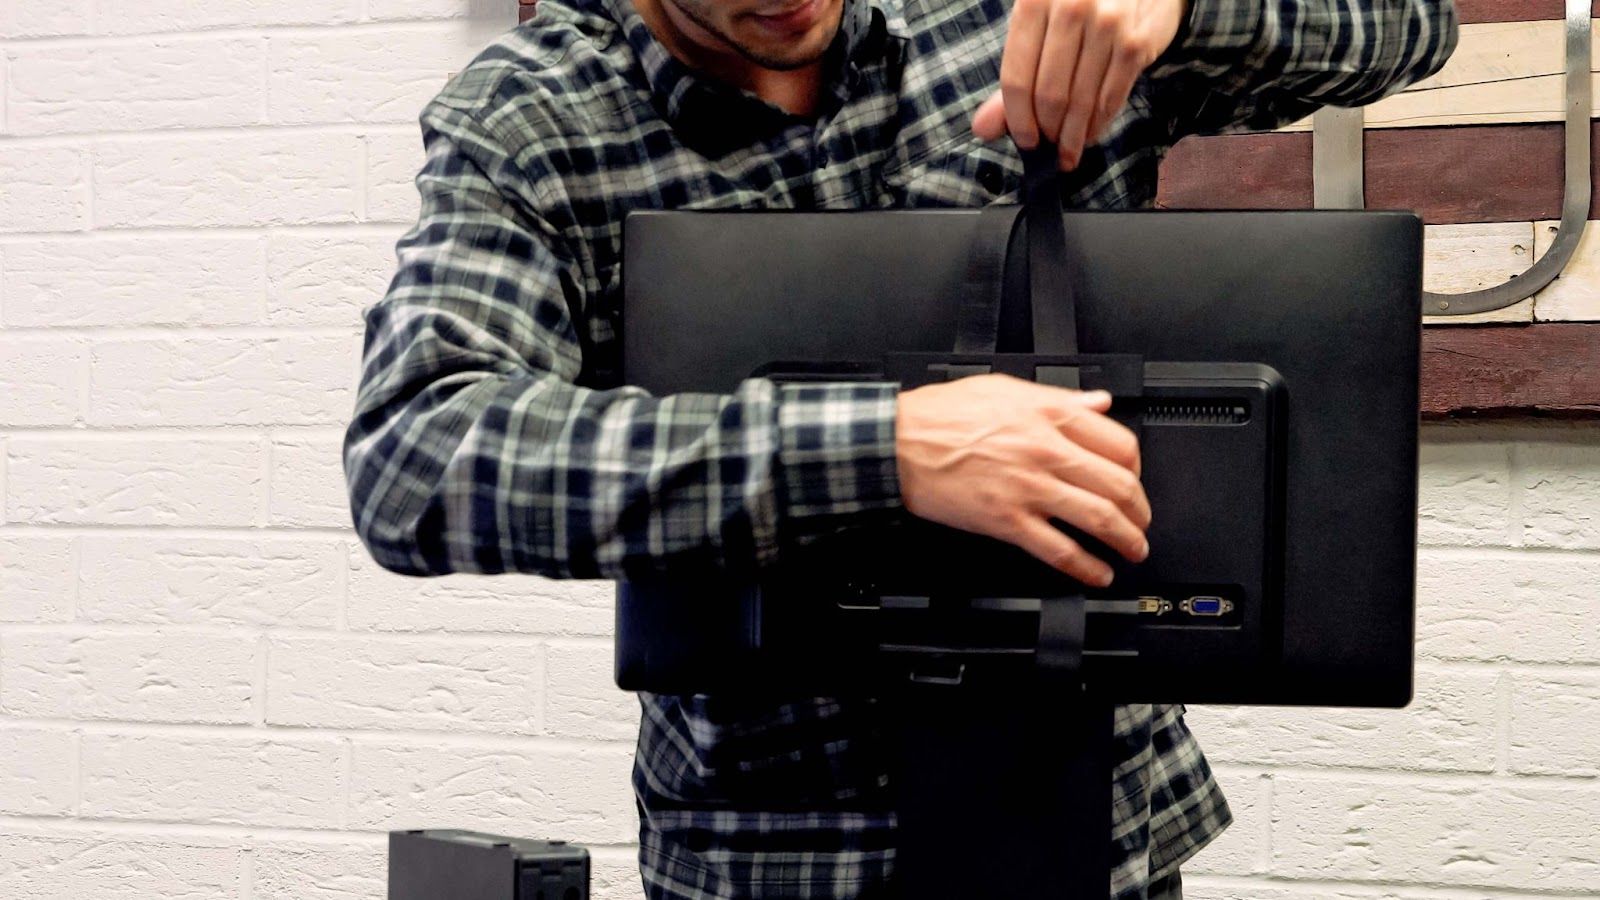
Step Four: Mounting Your Mini PC
Rethread the straps of the PC mount up through the opposite holes. Then align your mini PC to the mount on top of the straps. Pull the straps back down over your mini PC and through the bottom buckles. Adjust the straps back the other way to secure onto the velcro.
Installing the Vertical Monitor Mount
There are a few neat features to our vertical monitor mount. For one, it has a stylish, tapered design. However, the real purpose of this mount is for the VESA plate to be fully rotational. This allows the monitor to be fully rotational to function in portrait and landscape mode.
The vertical monitor mount is made from high-quality American-made steel, so it’s incredibly sturdy. In addition, it features an adjustable plate so you can adjust your screen up and down for comfort. Plus, it even has a cable management slot for decluttering wires in the center of the stand.
Materials
To install the single monitor stand, you will need:
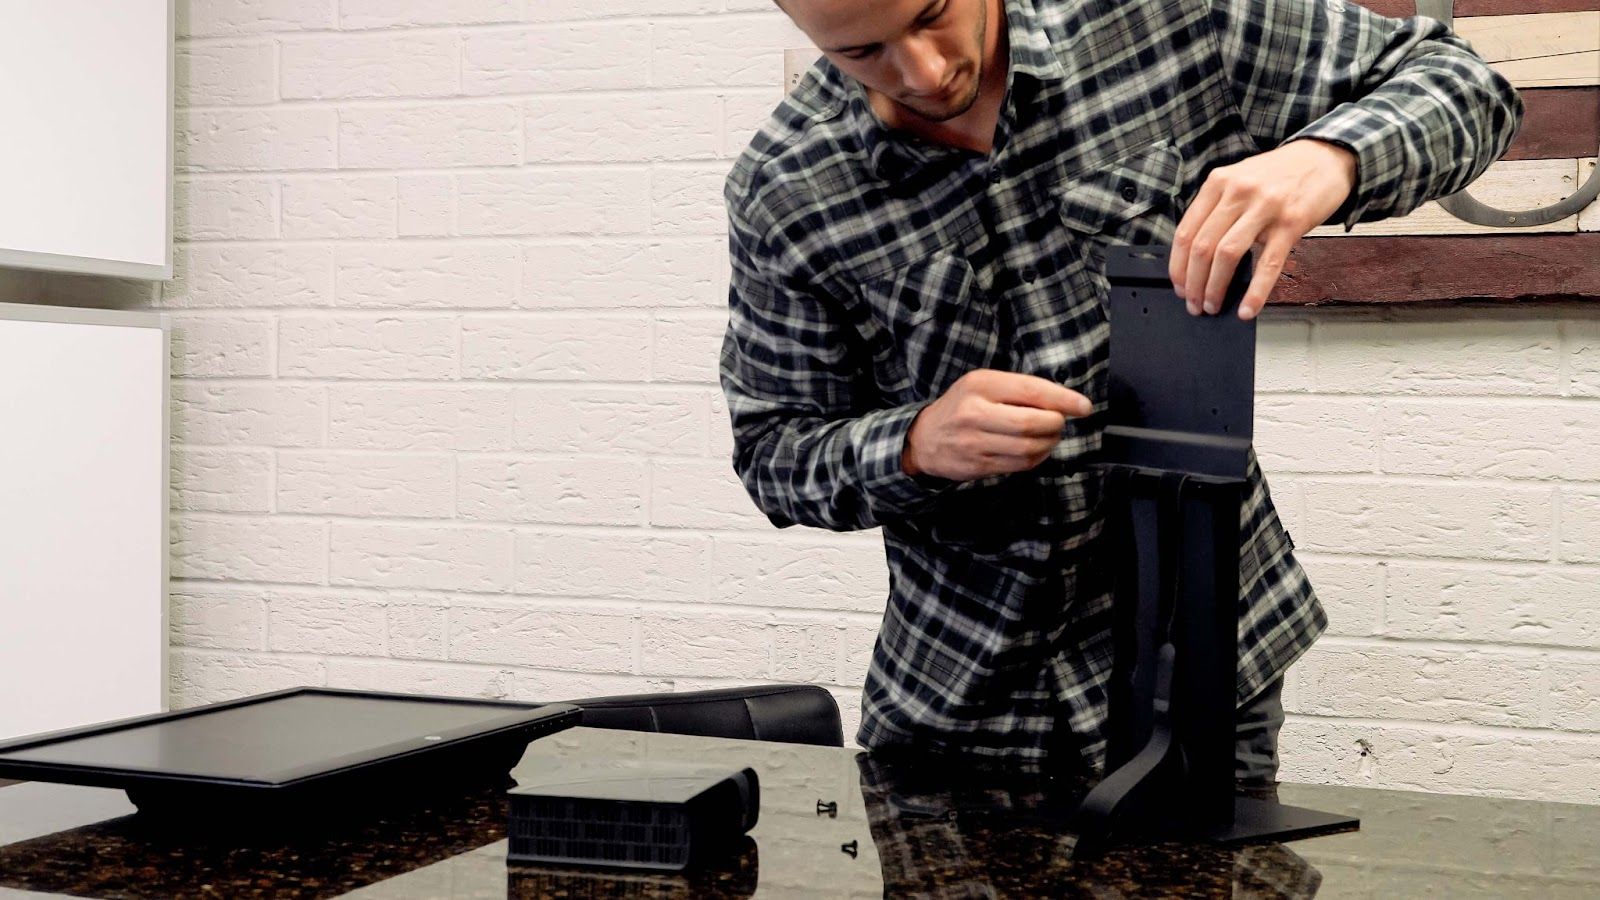
Step One: Alignment
The vertical monitor mount uses a VESA standard attachment system as our other monitor mounts. So go ahead and align the back of your monitor to the monitor stand arm and determine whether the 75mm or 100mm VESA hole pattern matches for connecting your monitor.
Step Two: Preparing the VESA Plate
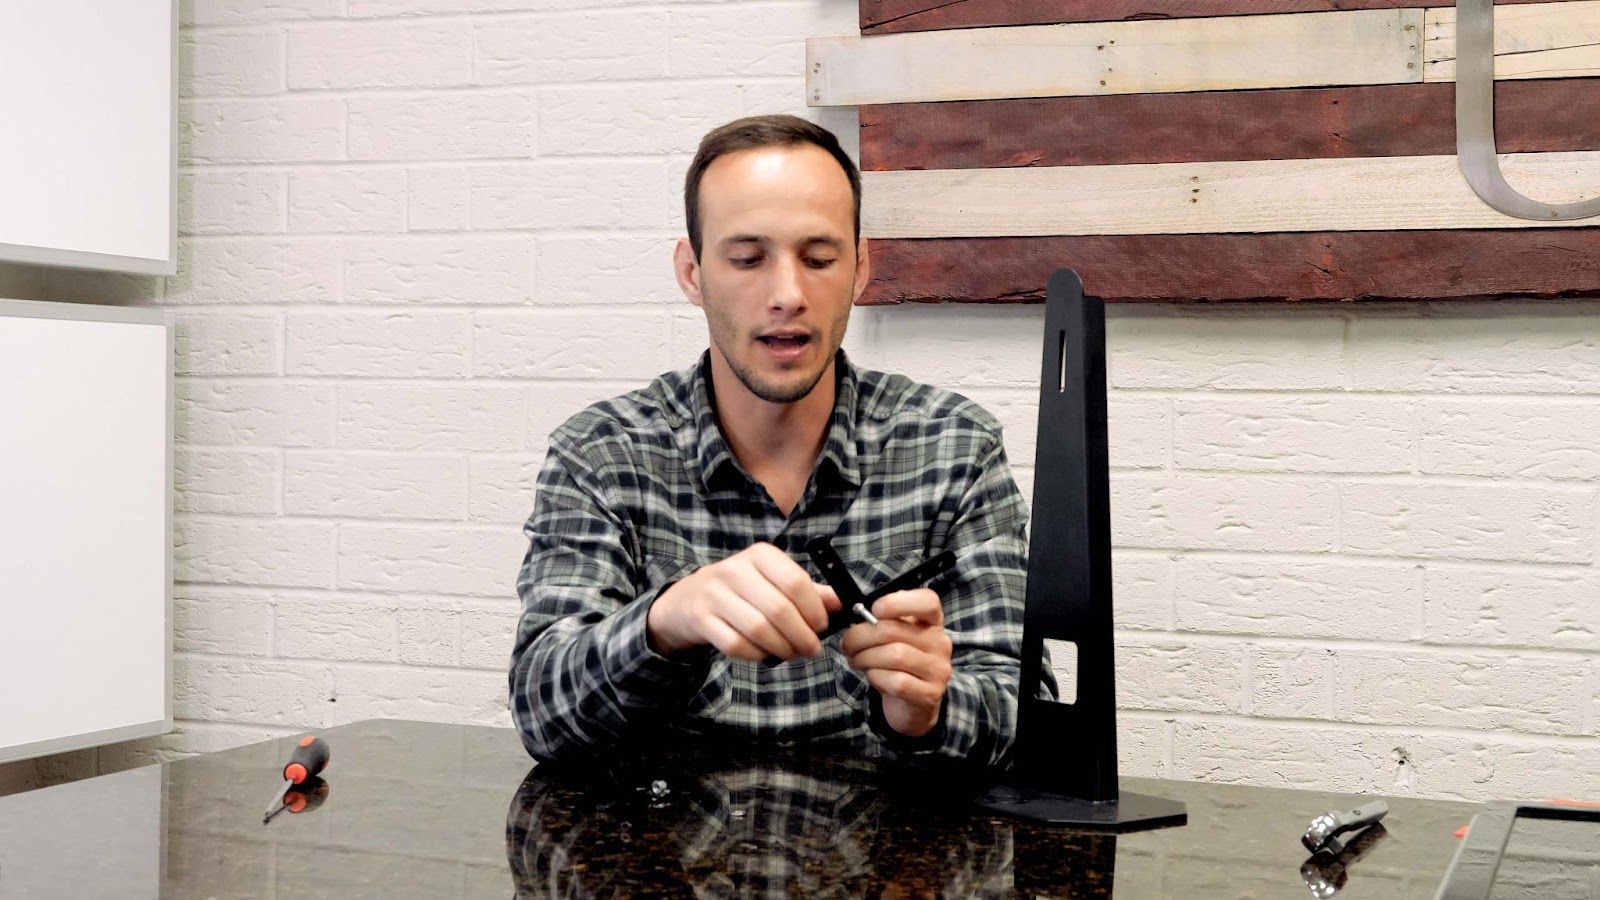
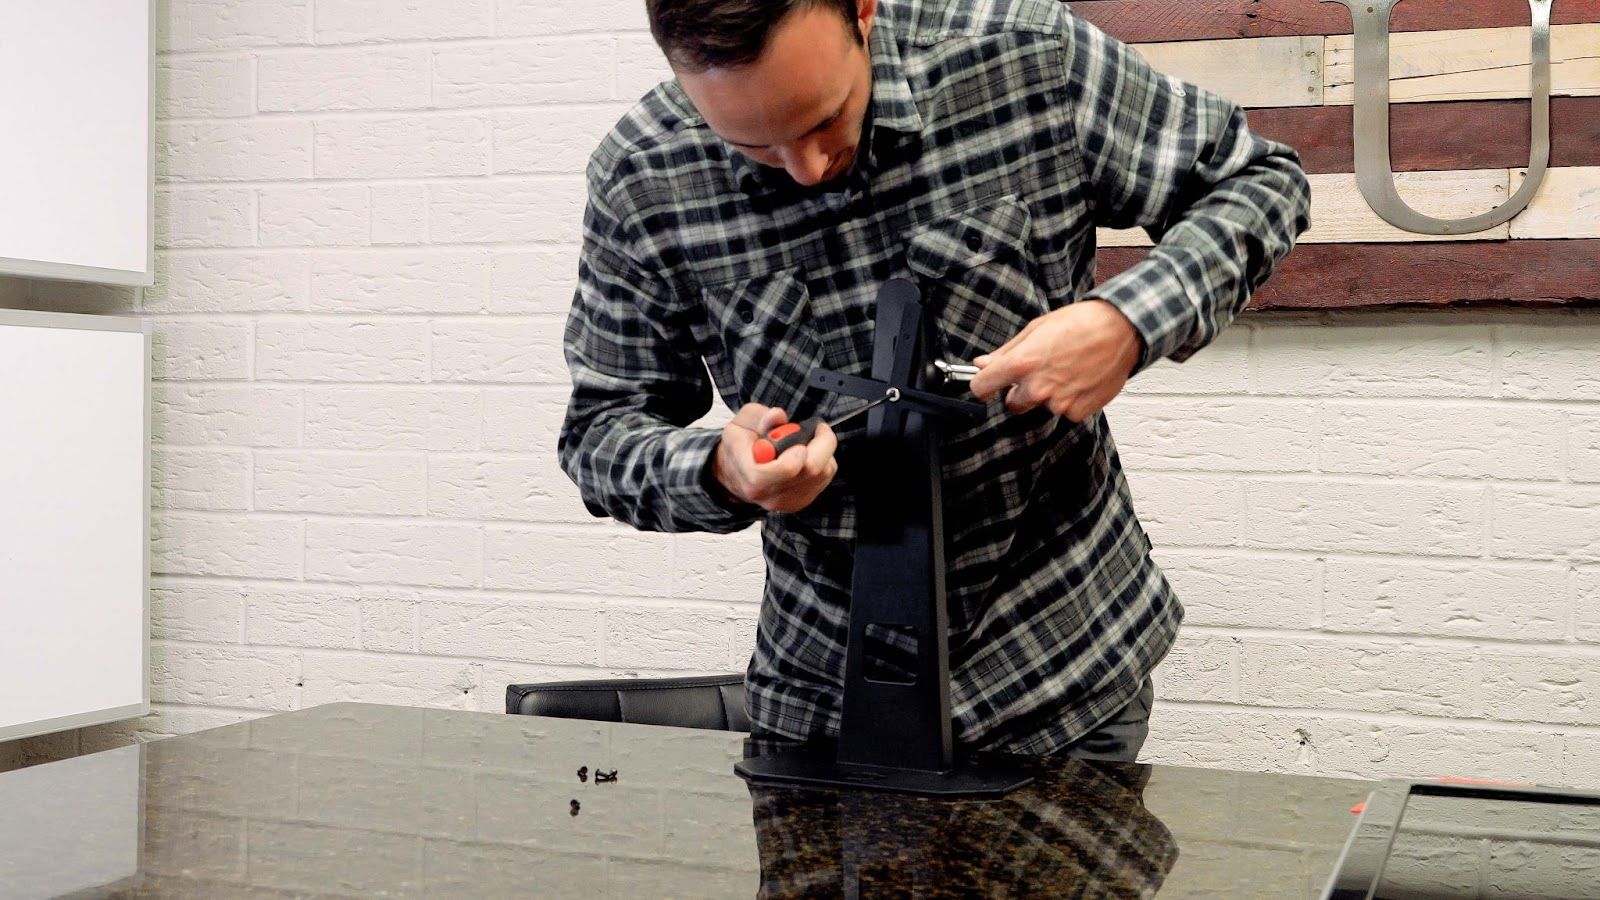
In this installation, your VESA plate will look like an “X,” which allows for the rotational feature. Prepare to attach the VESA plate to the monitor arm by pushing the included 1/4 bolt through the center of that “X.” Then, take the black washer and slide it onto the other side of the screw.

Step Three: Attaching the VESA Plate to the Stand
With your VESA plate prepped, push the screw through the top slit on your monitor stand. Then attach using the included lock nut. Be sure to tighten both the fastener and the nut by using both a screwdriver and ratchet. While the VESA plate should be able to move up and down along the slit, it should be tight.
Step Four: Attaching Your Monitor
Now that your monitor stand looks like a tiny windmill, it’s time to attach your monitor. First, hand-tighten each screw through the VESA plate and into your monitor. Then use a screwdriver to tighten all four fasteners.

Tips for Installing Monitor Mounts
Monitor Mounts By OEVEO
With made in the United States innovation, these monitor stands are the ideal, durable solution for your workspace. While all three of our monitor stands will get your monitor to optimal eye level and declutter your desk, each offers its own unique features.
For sturdy simplicity, the Single Monitor Stand has you covered. Meanwhile, the Single Monitor Stand with Mount allows you to attach a mini PC right on the back of your monitor, further clearing up your workspace. Finally, the Vertical Monitor Mount is fully adjustable. Our vertical mount holds your monitor securely up or down, vertically or horizontally.
Best of all, every OEVEO monitor stand is simple to install with this handy guide and accompanying video!