How to Install: Universal Mounts
We make simple but effective products at Oeveo. Our mounts are designed to look sleek and provide heavy duty support for your electronics. The Universal Mount is a popular choice for those looking to support towers that may not be standard in size.
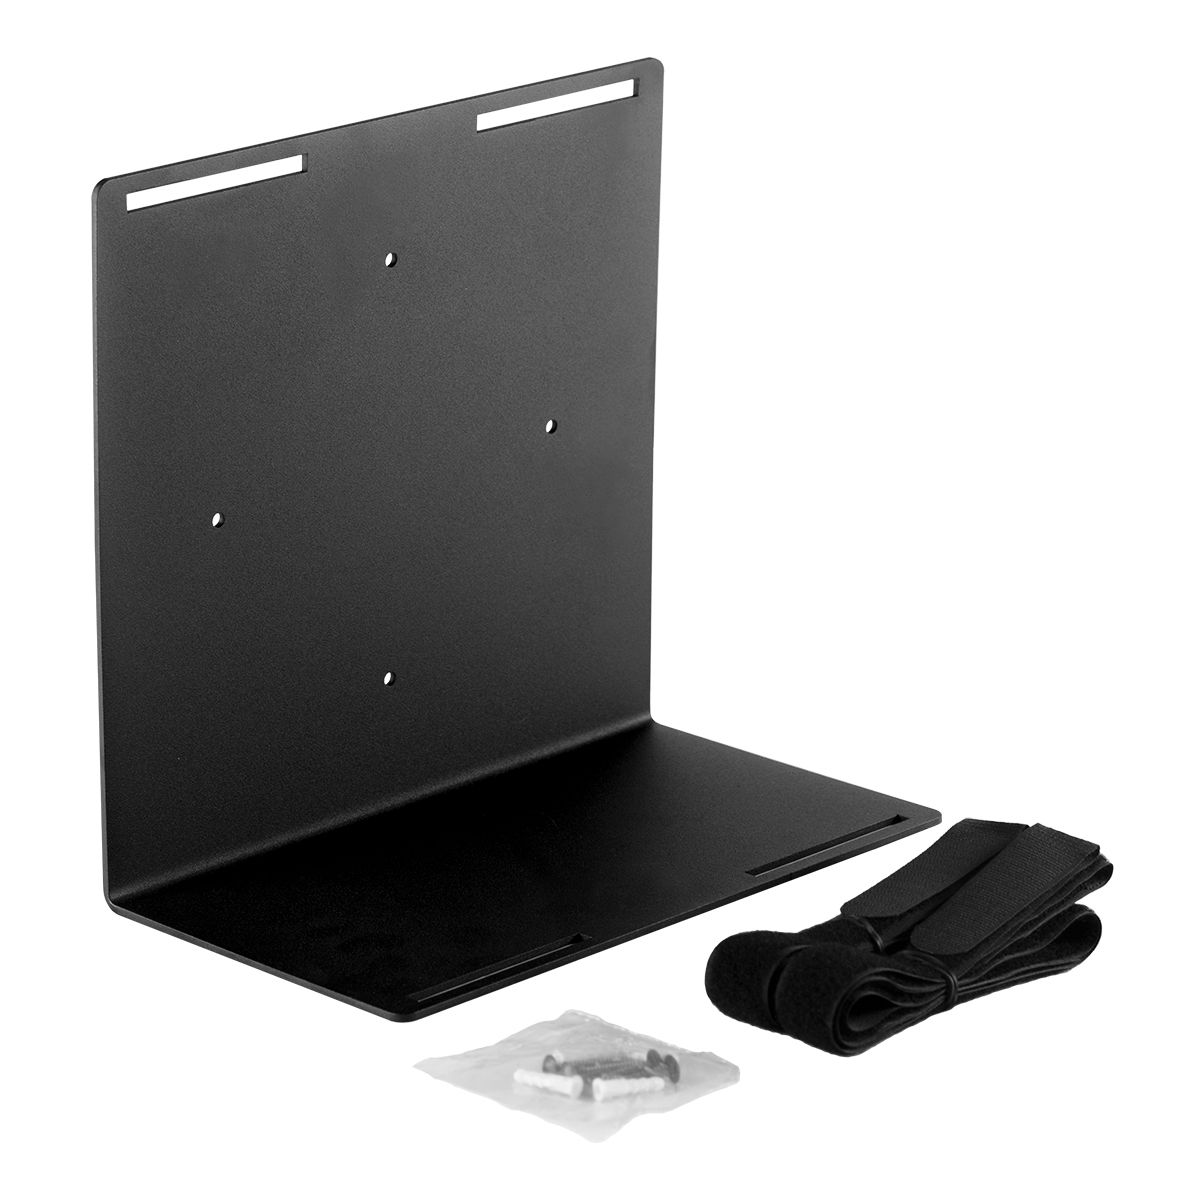
The adjustable straps are the main features of this mount. They accommodate computer towers that are unusually wide or tall. Even large form factor gaming cases have the potential to be mounted with a Universal Mount, however extension straps may be necessary.
The Installation
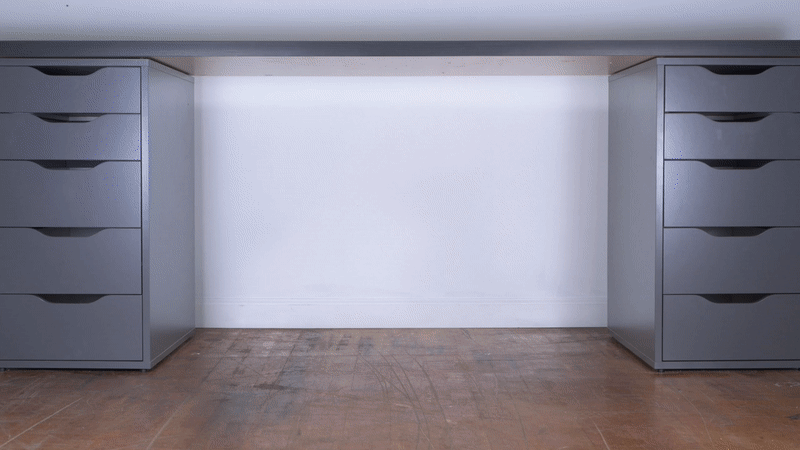
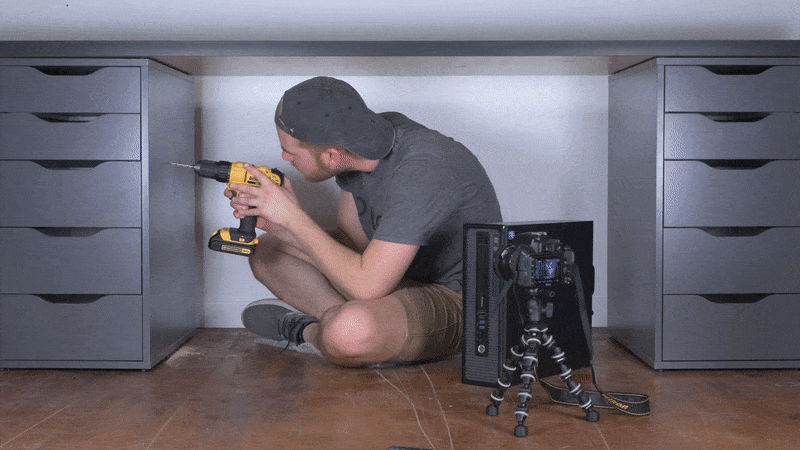
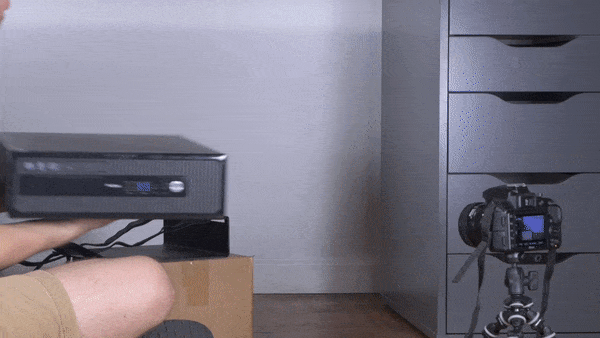
Start off by finding a stud on the wall that you plan on mounting the computer to. The middle mounting holes should run along the stud for the best support. *Skip this step if you don’t plan on using the stud or if you’re mounting to the side of a desk or cabinet as shown below.* Account for at least 10” of open space on the back side of the computer tower for proper ventilation.
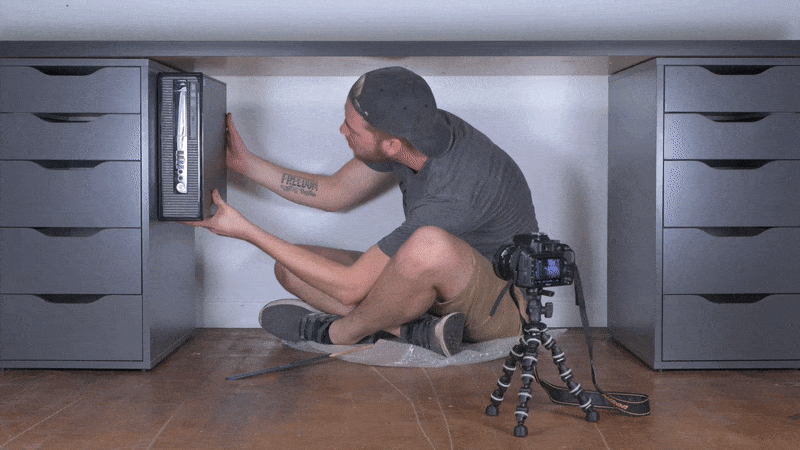
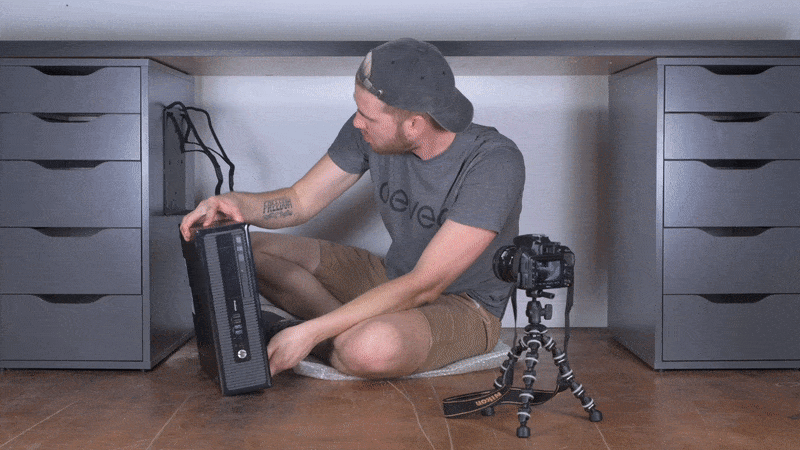
(1) The computer’s depth and/or height should be larger than that of the Universal Mount in most cases. Because of this, you should position your computer in the desired mounting location first, before installing the mount. When you’ve chosen a reasonable spot for your computer, draw a line on the wall along the base of your computer. This line will be where you place the base of the Universal Mount.
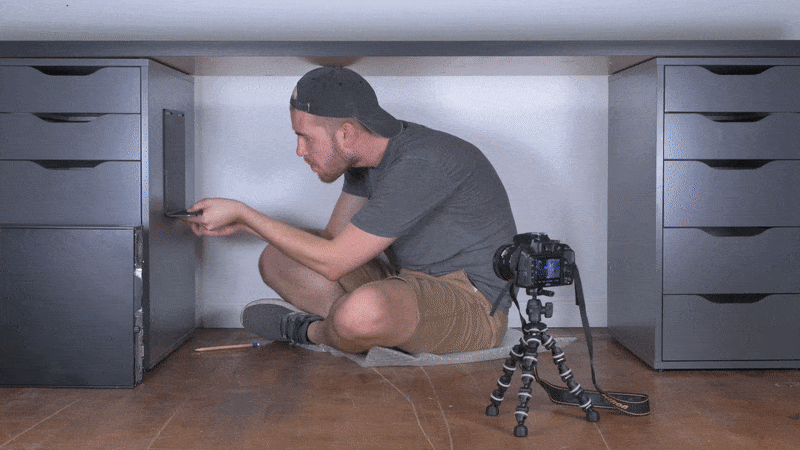
(2) Mark your drill guides from the mounting holes.*Take note of the thickness of the surface that you are drilling into. You should also make sure the screws included are not too long for your application.*
(3) Use a 1/16” drill bit to pre-drill the holes. If necessary, insert wall anchors.
Before securing the Universal Mount to the wall, the straps need to be routed through the slots of the mount. *This step is very difficult once the mount is flush against the wall.*
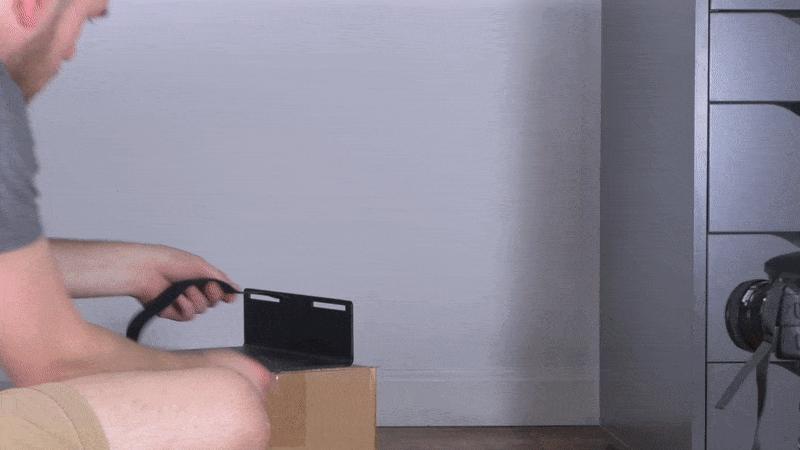
(4) Loop the strap around the bottom slot. Pull the strap through about 3-4 before attaching it.
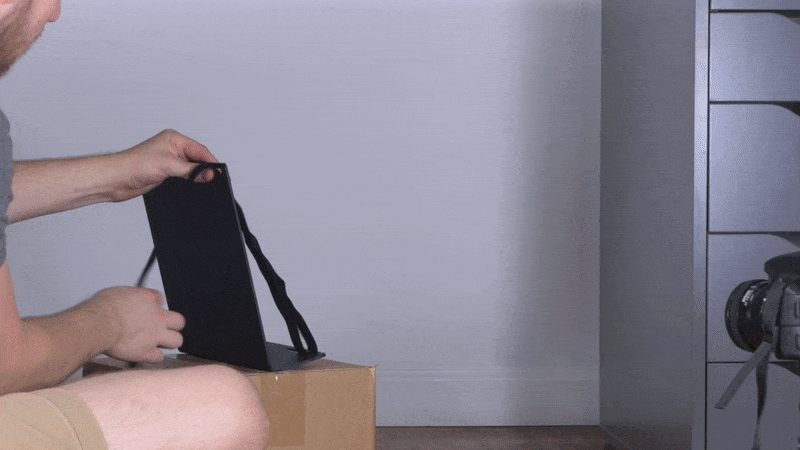
(5) Now loop the other end around the top slot. Just like the bottom, pull the strap through 3-4 before attaching it. Repeat this on the other side.
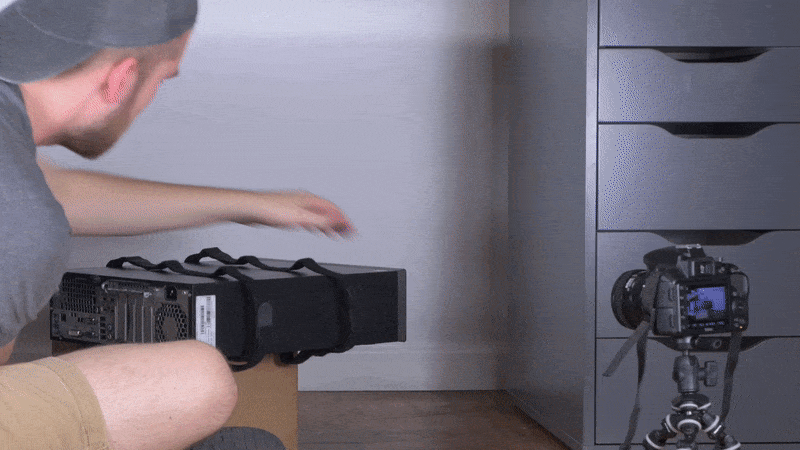
(6) Next you will pre-strap your computer into the Universal Mount. Create a gap under the straps to slide your computer into the mount.
(7) Tighten the top straps, making sure the fit is correct.

(8) You will then want to loosen the straps from the bottom ends, leaving enough room to slide the computer tower back out. This will ensure your straps are close to where they need to be, before securing the mount to the wall.

(9) Align the Universal Mount on the wall with the pre-drilled mounting holes. Screw the mount in place.
(10) Slide your computer through the strap opening one last time.

(11) Tighten the straps from the bottom, because the top of the straps will now be pressed up against the wall.

And that’s it! The process is very simple, but the straps may add a bit of confusion. As long as you follow these installation steps, mounting your computer tower with a Universal Mount will be a breeze. If you haven’t yet, check out our selection of Universal Mounts to get started!
Other Mount Installation Guides: Under Mount, Side Mount