How to Install: Side Mounts
If you’re looking to organize your desk area or to free up much-needed space around your workstation, mounting your computer tower is the perfect option to pursue.

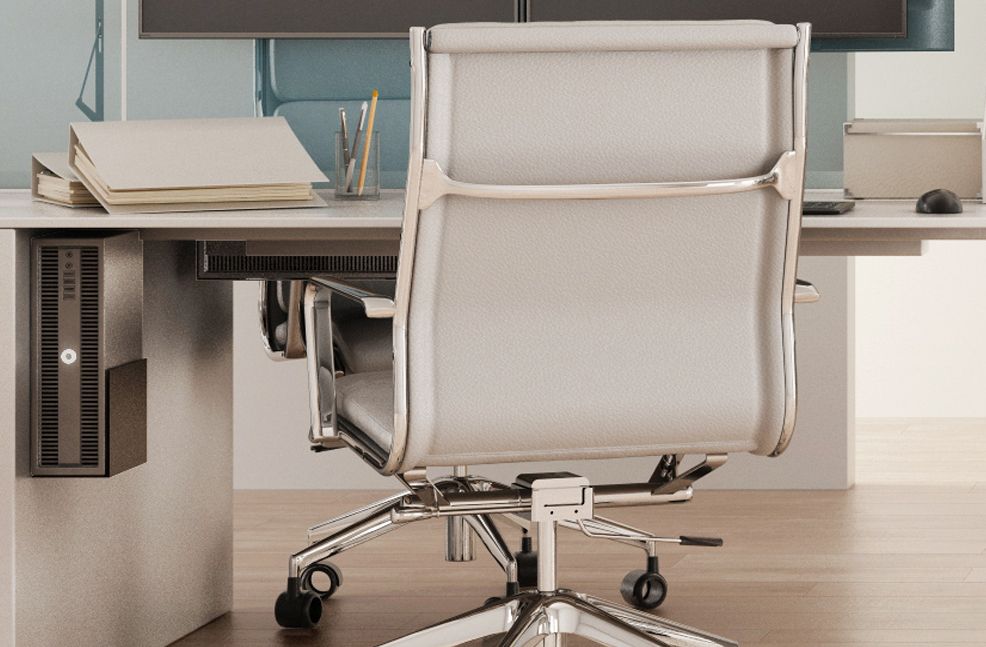
Our Side Mounts (or wall mounts) are meant to be fixed on any wall to mount computers in a vertical orientation. If there isn’t space on the wall behind your desk, you can even affix this mount to the side walls of your desk or drawers, as shown below.

The Installation
Figure out the spot that best fits your computer tower, while accounting for at least 10” of open space on the back side of the tower for proper ventilation.
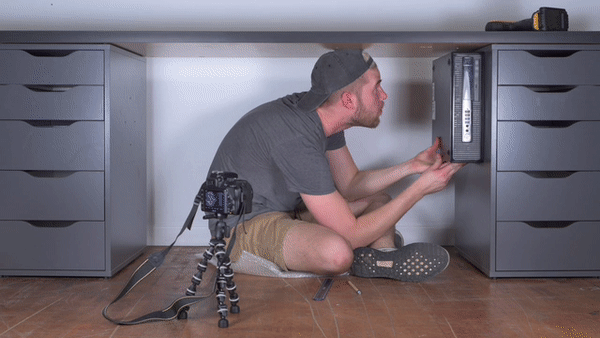
(1) Hold your computer up to the desired mounting location. Draw a line on the wall along the base of your computer. This line will be where you place the base of the Side Mount.
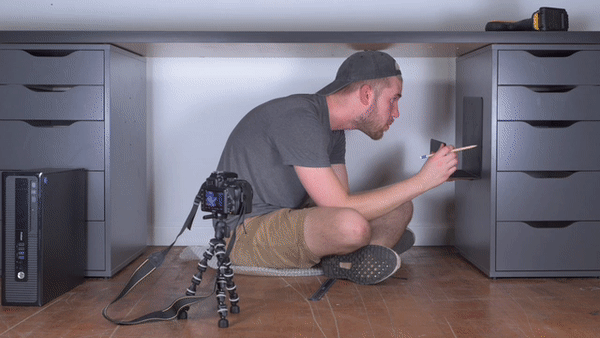
(2) Mark your drill guides from the mounting holes.
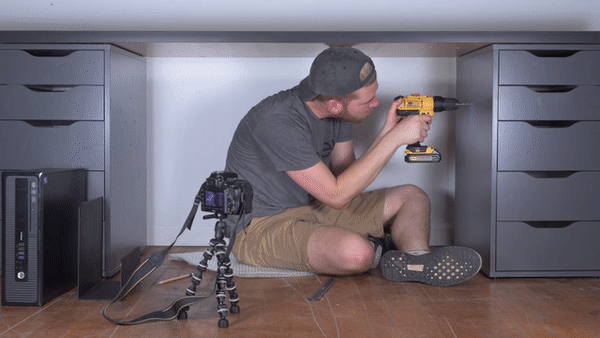
(3) Use a 1/16” drill bit to pre-drill the holes. *Take note of the thickness of the surface that you are drilling into. You should also make sure the screws included are not too long for your application.* If necessary, insert the wall anchors.
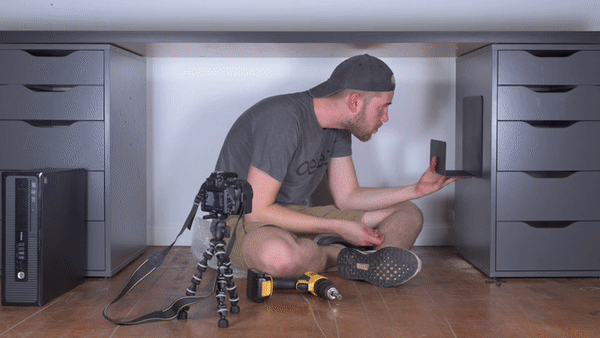
(4) Align the Side Mount on the wall with the pre-drilled mounting holes. Screw the mount in place.

(5) Insert your CPU through the opening of the mount.
Now your computer tower is conveniently tucked away, giving you more floor or desk space to work with. We hope these steps helped with installing a Side Mount. If you haven’t yet, check out our selection of Side Mounts to get started!
Other Mount Installation Guides: Under Mount, Universal Mount